Implementing my own CA
Intention and original situation
The move to encryption everywhere is inevitable. Soon browsers (starting with Chrome) will be blocked unencrypted HTTP requests. Google announced this in a recent blog post. So in order to prepare for this, my own home server installation needs a proper CA and certificates.
Creating the certification authority
I chose to use my NAS as the host for the CA for now as openssl was already installed. For the CA I followed the excellent instructions from Jamie Nguyen (link). The detailed instructions I used to create the Root CA are detailed here:. Only the Root CA will be used so I chose the less strict policy and used
policy = policy_loose
After you have verified that your CA certificate is correctly setup you are ready to sign your HTTPS-Certificate requests.
Creating the request
The first step in obtaining a certificate is to create a certificate signing request (csr). I used the following command to create it:
openssl req -new -newkey rsa:2048 -nodes -keyout server.key -out server.csr
It’s best to replace the filename server.key and server.csr with the actual name of your server. The file server.key will be the private key of certificate and must be uploaded to your web server configuration. The csr file needed by CA (ourselves) to sign and thus create the certificate.
Signing the request
To actually sign the request you need the csr file from the previous step. In my setup used the following command to sign it:
openssl ca -config myCA/openssl.cnf -out server.crt -infiles server.csr
In case you get an error about a mismatch of attributes like countryName, stateOrProvinceName or other attributes mentioned in the policy section your currently selected CA policy (see policy line in your openssl.cnf) prohibits the signing of this csr. Either change the attributes in the csr itself so that they match to data of the CA itself and the chosen policy. Or you can just as easily change the policy in your openssl.cnf file of your CA.
For the moment I just chose the loose policy but later on, I will tighten the security screws again.
When all is good you get a proper crt-file containing your signed HTTPS certificate.
Convert to PEM format
As openmediavault uses the pem format we need to convert the certificate accordingly.
openssl x509 -outform PEM -in server.crt -out server.crt.pem
Add the file openmediavault and enable HTTPS
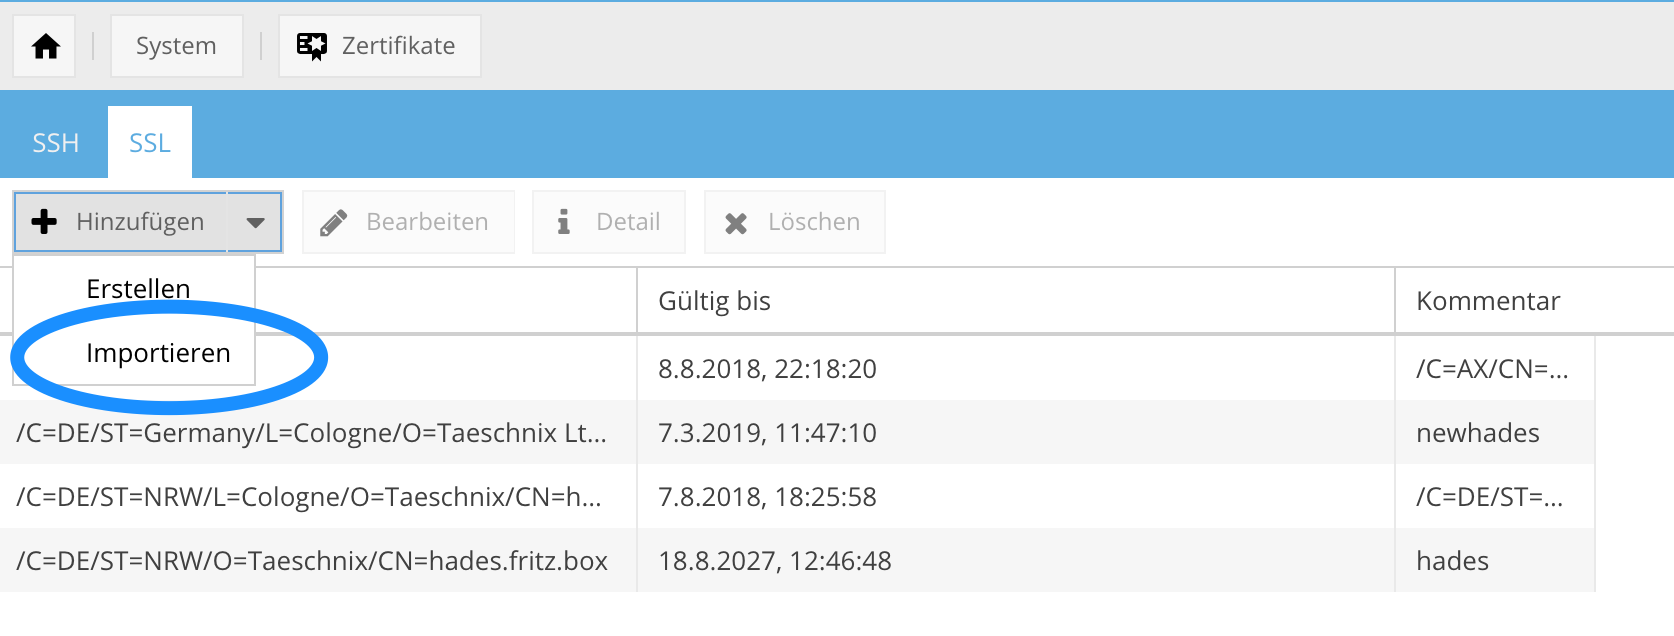
First, we need to import the certificates into OMV. Go to the “Certificates” page and switch to the SSL tab. Now select Add/Import from the menu past the content of your private key and the crt file into the respective fields.
 Be sure to include the header and footer lines (e.g. —–BEGIN CERTIFICATE—–) and equally important add a descriptive comment as this will be used as a reference in later configuration steps.
The HTTPS configuration in openmediavault is on the “General Settings” page of the “System” section. Just enable HTTPS and select the just imported certificate from the drop-down menu. The certificates are referenced by their comment (if you entered one when importing the certificate into OMV). Save the changes and apply the new configuration.
Getting your browser to accept your certificates
No we can access our web server with HTTPS although we still get warnings about an untrusted connection.
So now we need get the browser to trust all certificates that our CA is signing. For this we need to got to security settings and import the public key. Transfer the file myCA/certs/ca.cert.pem in your CA installation to your local machine and import it into the trusted authorities section of your browser.
Be sure to select the “trust for websites” option when importing the certificate.
Testing out your setup
Try to access your web server via https and your browser should display a fully trusted and encrypted connected.